Now that spring time is officially here, it is time to stand up, stretch, and get moving. What better way to ease into it than a walk with your camera?
Physical fitness is essential to your artistic fitness. In order for you to become a better photographer you must become a better person.
In other words, the more physically fit you are, the better artist you are. Think of it as photography therapy. When you prioritize your physical fitness, you can become more productive.
Walk. A lot.
Start lifting again.
Make your diet a priority
Sleep better
Limit alcohol intake
Feed your creativity by walking inside museums or galleries, walking around town with your camera or walk around public spaces.
The more you shoot, the more photographically fit you can become.
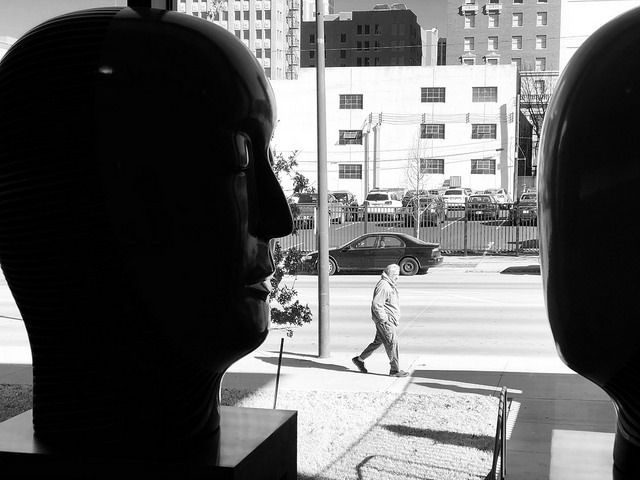
Someone asked me the other day what type of photography do I like to shoot. Immediately my response was “portraits.”
Why?
Because people are fascinating!
Because people have individual personalities and expressions.
Because people have stories to share.
Because people are intrigued by other people.
Ever go to a museum and notice we are drawn to portraits more often than any other subject? Because people back then are just like us. In the future, they will appreciate and absorb content about us.
This is why I focus on photographing people.
Explore More: Joshua Tree National Park, California
Following up on my previous post about editing photos with the iPad and VSCO workflow, I wanted to add some even more simple tools. The iPad and it’s Photos app have some very basic editing tools and help simplify your workflow.
When I import my images to the iPad from the Lightning SD card adapter I like to think of it as a contact sheet just like we used to use for film and a darkroom. When I review the thumbnails of these images I can tell almost instantly which are kept or to be discarded. And speaking of importing, lately I have been shooting more jpeg file format as opposed to RAW. Again, simplicity. When these everyday photos are just for my use and storage, I want to minimize the file size. Faster importing and lighter on the storage. Now when I shoot for clients, I will almost always shoot in both jpeg and RAW for the sharpest, best results. Moving on.
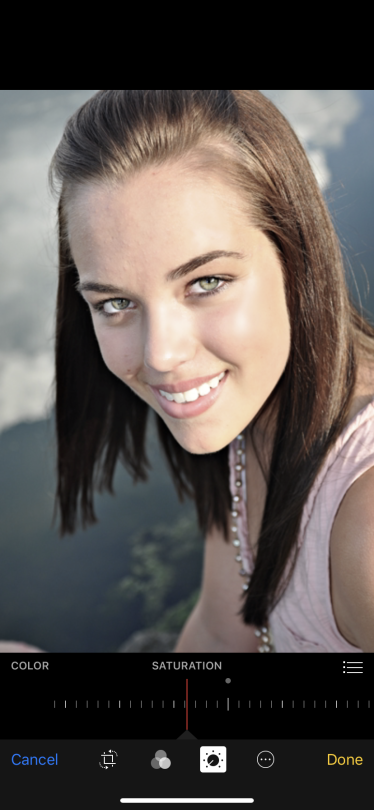
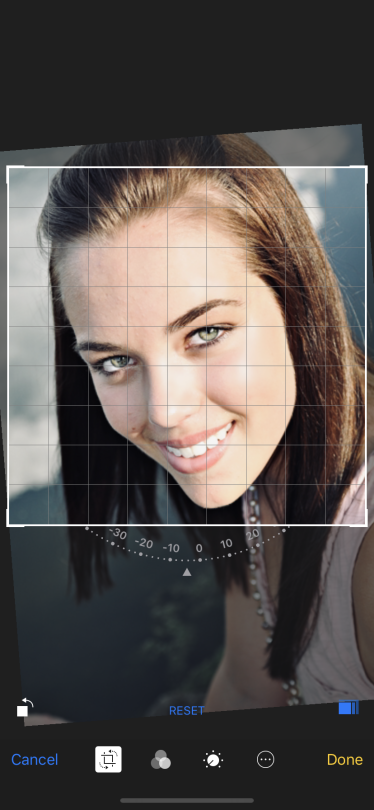
Every photographer’s goal is to get the image right in camera. While that isn’t always possible, it is possible to have fun and play with the lighting and filter tools.
Adjust the lighting, exposure, shadows, saturation, contrast and more. Just explore and experiment with what looks good to you. Not for anyone else. For you. This is your time to play.
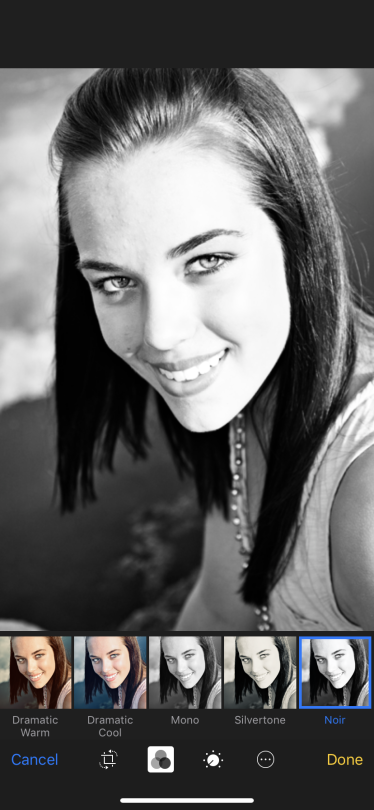
There is no such thing as the perfect processing technique. When playing with the process, take a look at the offered filters.
For color filters, I lean more toward the “Dramatic” look. For black and white I prefer the “Noir” look. If these don’t do it for you, I’d suggest looking at the filters in the VSCO app.
Be sure to fine tune your image with a careful crop and rotation. These can help eliminate background clutter and even a different perspective.
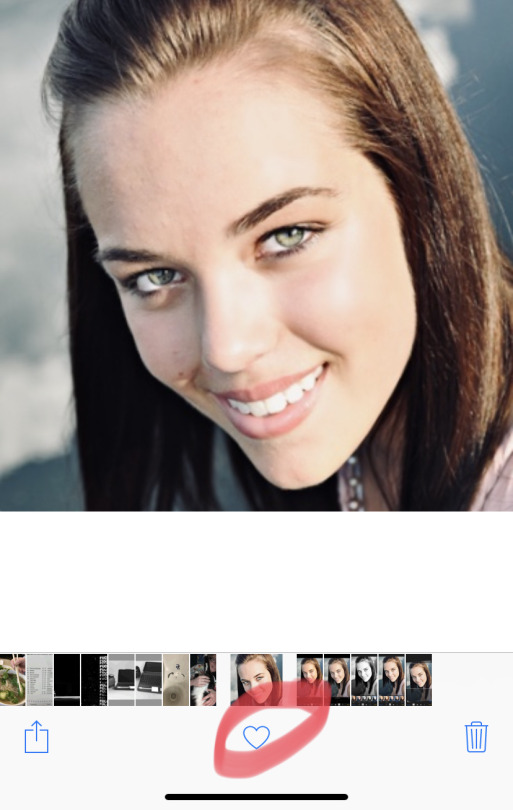
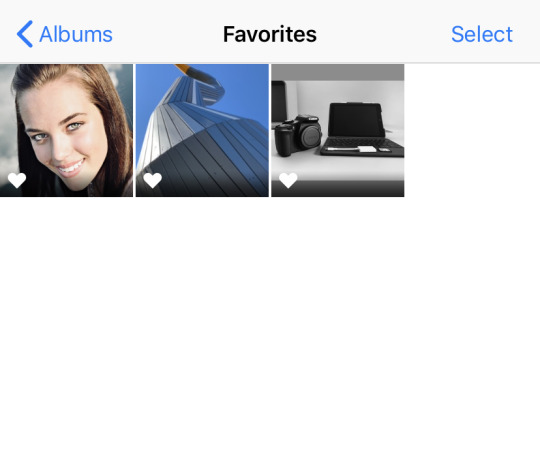
Another handy dandy feature is the Favorite button. These help me sort the best from the rest. When you favorite an image it’ll go into it’s own folder. From there I can process my fave images.
When the images are finalized I will usually distribute them to various places online like my websites, Flickr, VSCO and EyeEm. But before I do that, I ensure I have access using all of my devices such as the iPhone, iPad and my laptop. Your experiences will vary but for me, I keep it simple. I use the iOS Files app, iCloud backup and Microsoft’s OneDrive. Because…Windows.
To wrap this up, the iPad for me is quickly becoming my default device for photo production. I am constantly tweaking and refining my experience to simply my workflow.
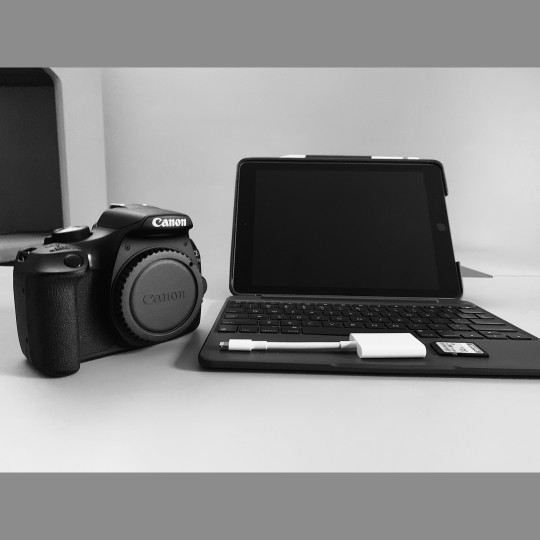
The advancement in digital photographic technology has come a long way, baby. When I acquired my first digital camera 18 years ago the post processing was minimal and the software was expensive. More recently, I’ve converted from a Nikon and Compact Flash adapter to desktop drive to an SD card to laptop situation. Why? Simplicity.
I am simplifying and tweaking my workflow all the time because I want to do more shooting as opposed to editing. Get me back out there!
Lugging a laptop around with all my photography gear is not ideal or even necessary anymore. With the technology improvements of the iPad it is becoming my go-to workhorse to catalog and process my images. Other benefits?
– [ ] Speed. The iPad can load and process faster than a laptop and Adobe Lightroom
– [ ] Cost. A good iPad is cheaper than a laptop
So how do you get your RAW/JPEG images from your camera to your iPad? Well, you could use the camera’s WiFi transfer feature. Or wait for them to load into your cloud drive and download them. For me? I prefer the $29 SD card adapter from Apple. This is one of the best, cheapest investments I have made.
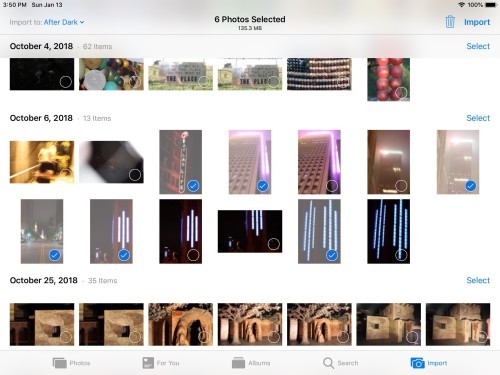
When I insert my SD card into the adapter and then into the iPad, the Photos Import module appears. You can choose to import all or select individual images.
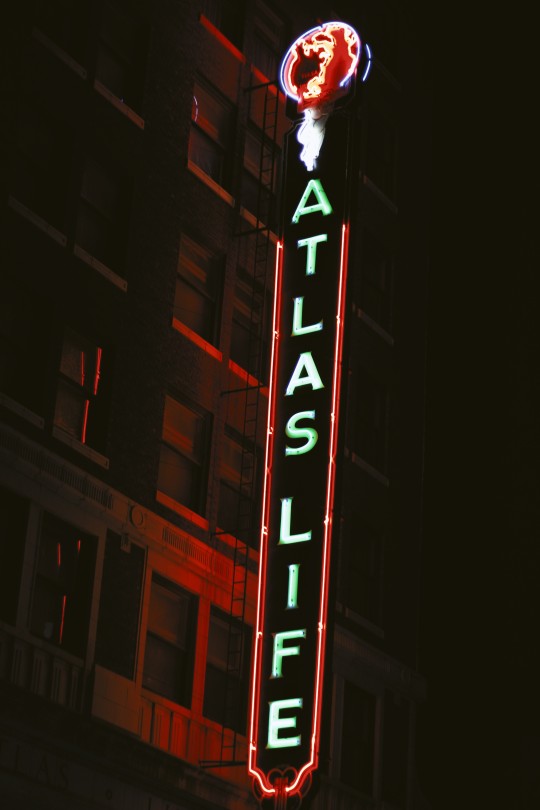
To help keep me organized I add these photos to a new album such as this example here, After Dark.
VSCO, The Visual Supply Company
I am a big fan of this software. They have grown from a photo filter software app to a full fledged photographic community that could and should replace Instagram. They have both free and paid subscription model that allows them to avoid ads in their software. I pay $20 a *year* for their products as opposed to $10 a *month* for the Adobe photography plan. I just saved $100. Follow me there if you’d like: https://vsco.co/photodenbow
Now that I’ve opened the VSCO app to import my selected photos I can choose the presets to set the tone I want for my images. VSCO presets emulate actual film effects from Kodak, Fuji, Iilford, etc. They even have creative, fun presets.
After I’ve chosen the effects I can tweak individual settings such as saturation, hues, white balance etc. From there I will save to my VSCO feed or journal as well as download to the iPad. After that, do what you will with your finished product.
There is no perfect workflow for me because I am constantly tweaking it to keep it simple. Who knows? Maybe next month it will change again.